The old version is still available here
Send and receive real-time video from an Android application
This guide contains instructions for setting up the Mux Spaces Android SDK. By the end of the guide you'll have a working app that will be able to connect to a Space, as well as send and receive media from the Space's participants.
In this guide:
1
Understand core abstractions
Understand core abstractions
Understand the concepts of working with Mux Real-Time Video.
2
Application setup
Application setup
Set up your Android application with Android Studio
3
Join a space
Join a space
Join a Mux Space before receiving and/or publishing media
4
Subscribe to participants
Subscribe to participants
Build a UI to show active participants
5
Publish audio and video
Publish audio and video
Publish a local participant's audio and video to a Mux Space
6
Other considerations
Other considerations
1Understand core abstractions
Space
A Space is the basic abstraction for creating real-time communications with Mux. In order for clients to authenticate to a space, they need to provide a signed JSON Web Token, or JWT. This signed JWT is the way that the real-time client authenticates to a particular space.
Participant
A participant is an abstraction of a single user in a space. A participant can be a subscriber-only, or a publisher who sends one or more streams of audio or video media in the form of a track.
Track
A track is a single stream of media (audio or video). A participant can publish one or more tracks of media.
Creating a space
A Space must be created either through the Mux dashboard or via the Mux API. See the API Reference for creating a Space.API
curl https://api.mux.com/video/v1/spaces \
  -H "Content-Type: application/json" \
  -X POST \
  -u ${MUX_TOKEN_ID}:${MUX_TOKEN_SECRET}
Authenticating into a space
JWTs signing should always be done server-side. Never sign JWTs on the client.
In order to sign the JWT before sending it to your client, you must create a signing key. Signing keys can be managed (created, deleted, listed) either from the Mux dashboard or via the Mux Video API. When creating a new signing key, the API generates a 2048-bit RSA key-pair and returns the private key and the public key. As the name implies, you should securely store the private key, and never pass it to a real-time communications client. The other portion of the key-pair, the public key, will be stored by Mux in order to validate the signed tokens were actually signed by the private key. As it's name suggests, it's perfectly fine to share your public key if you so desire.
See the overview guide for creating a signing key and signing JWTs on your server.
Prerequisites for this example
In order to complete this example you should have experience with Android development, Android development tools (Android Studio, Gradle etc.) and a device to test on.
Javadoc
Here you can download the Javadoc SDK docs (zip).
2Application setup
Create the Android project:
- In Android Studio select File → New → New Project
- Select “Empty Activity”
- Fill out the Name and Package Name as you want
- The Minimum SDK must be at least 28 (Android 9)
- Our example will be in Java, but the SDK is still easy to use from Kotlin
Configure Maven imports and add a dependency on the MuxSpaces SDK:
- Our SDK is hosted in the Mux release Maven repository. We also include libwebrtc which is hosted on jitpack. JavaDoc is included so you can explore the classes and methods in Android Studio.
- In the project
settings.gradleadd the following two items todependencyResolutionManagement→repositories(typically undergoogle()andmavenCentral()):maven { url 'https://jitpack.io' } maven { url 'https://muxinc.jfrog.io/artifactory/default-maven-release-local' } - Add the dependency to your
app/build.gradlein the dependencies section of the app modulebuild.gradlescript:implementation "com.mux.spaces:sdk:0.4.1" - Add the dependency to your
app/build.gradlein the dependencies section of the app modulebuild.gradlescript:only needed in the example for permissions purposesimplementation "androidx.activity:activity:1.5.1" - Sync Gradle to download the dependencies
- Make sure your activity is a subclass of “
androidx.appcompat.app.AppCompatActivity" (This is the default used for the purposes of the example - plain Activity subclasses can work). - In your application manifest (
AndroidManifest.xml) ensureandroid:allowBackup="false"in the application element, e.g.:
...
<application
        android:allowBackup="false"
        android:icon="@mipmap/ic_launcher"
...
Create the layouts
- We’re going to need to display our local video and any remote video, so we’re going to modify the layout in
layout/activity_main.xml. - Our layout doesn’t need to be clever, so lets replace the default with a LinearLayout. See below for an example with a white background that makes for a good backdrop for what you'll add next:
<?xml version="1.0" encoding="utf-8"?>
<LinearLayout xmlns:android="http://schemas.android.com/apk/res/android"
    android:background="#FFFFFFFF"
    android:layout_width="match_parent"
    android:layout_height="match_parent"
    android:orientation="vertical">

</LinearLayout>- The Spaces Android SDK provides a view class which we will use for displaying local or remote video tracks
com.mux.sdk.webrtc.spaces.views.TrackRendererSurfaceView. (Unsurprisingly this is aSurfaceViewsubclass). At this time audio tracks are automatically played and mixed when you are subscribed to them. - Add an instance of that class to the
LinearLayout:
<com.mux.sdk.webrtc.spaces.views.TrackRendererSurfaceView
android:id="@+id/activity_main_local_renderer"
android:layout_width="640dp"
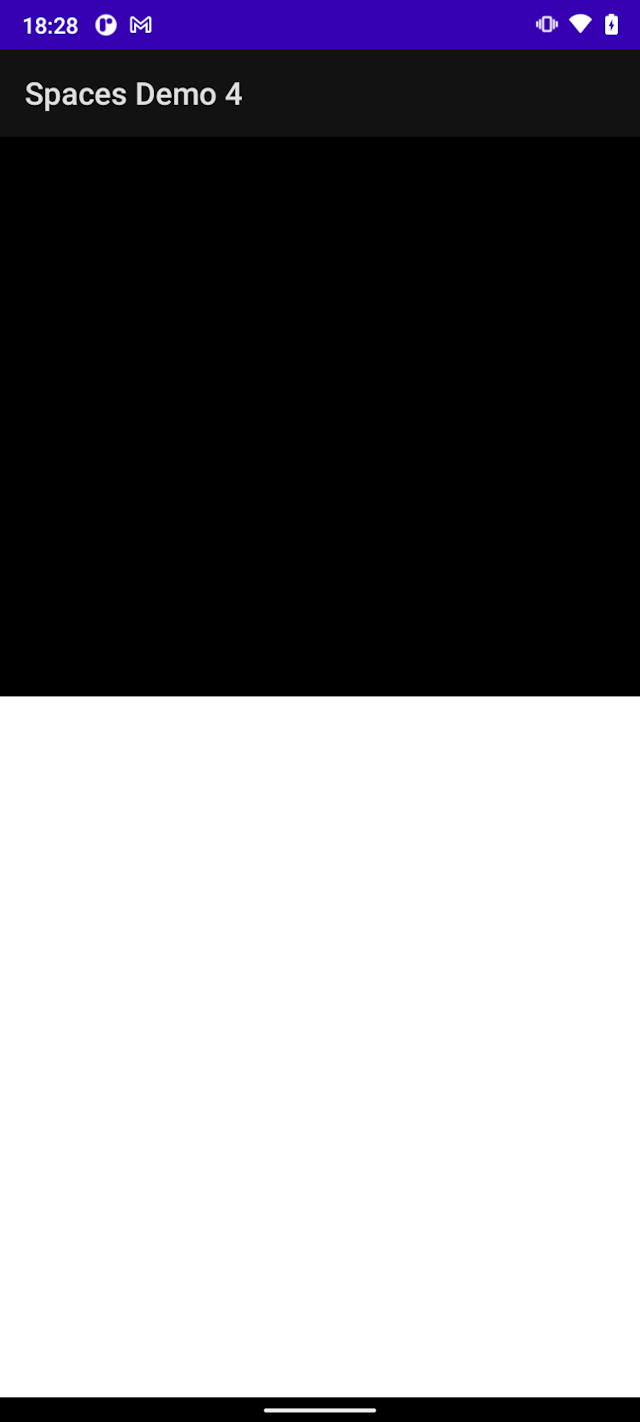
android:layout_height="360dp" />Build and run the app, you should seen an empty screen, with a space for your own video when it loads up.
3Join a space
To join a Space we will need a JSON Web Token (JWT) that is generated by a server. Check out the Authentication section in the main getting started guide for more details. We will use the JWT assemble this into a SpaceConfiguration in the MainActivity onCreate method (You will need to import SpaceConfiguration. If you have set the dependency correctly Android Studio should suggest the correct import).:
@Override
protected void onCreate(Bundle savedInstanceState) {
    super.onCreate(savedInstanceState);
    setContentView(R.layout.activity_main);

    final String jwt = "YOUR JWT";
    try {
        SpaceConfiguration spaceConfiguration = SpaceConfiguration.newBuilder()
            .setJWT(jwt)
            .build();
    } catch (Exception e) {
        e.printStackTrace();
    }
}
Replace "YOUR JWT" in this example with the JWT that you create server-side. In a production application your application should make a request to fetch the JWT from a server.
Next, create a class level variable for the Space, and when importing Space make sure to import "com.mux.sdk.webrtc.spaces.Space".
private Space space;Inside the try/catch after building the configuration we have to obtain the Spaces singleton, which provides the core services for the SDK. (Rather like the services the browser provides to our web SDK).
Spaces spaces = Spaces.getInstance(this);We then get Spaces to retrieve the Space in onCreate:
space = spaces.getSpace(spaceConfiguration);If there is an existing instance of the same configuration that will be returned. Simply having an empty Space doesn’t do anything, you must join it, and for the Android SDK it is a requirement to add a Space.Listener when you join, so we will create a class level variable holding our Space.Listener:
private final Space.Listener spaceListener = new Space.Listener() {};This is where all events relevant to the Space will occur, and we provide empty default implementations. All callbacks occur on the UI thread so you won’t have to worry about accessing UI components directly. (The SDK itself is multithreaded and should not ever block the UI thread. This is also why you receive callbacks on Space.Listener for Participant and Track events on Android: this way the events arrive in exact order and it’s harder to lose them when you’re doing something else)
To test this out, let's trigger a Toast when the Space is joined, and let's add an onError override within the Listener:
private final Space.Listener spaceListener = new Space.Listener() {

    @Override
    public void onJoined(Space space, LocalParticipant localParticipant) {
        Toast.makeText(MainActivity.this, "Joined space "+space.getId()+" as "+localParticipant.getId(), Toast.LENGTH_LONG).show();
    }

    @Override
    public void onError(Space space, MuxError muxError) {
        Toast.makeText(MainActivity.this, "Error! "+muxError.toString(), Toast.LENGTH_LONG).show();
    }
};
Lastly, join the space, add this line at the bottom of the try/catch in the onCreate function:
space.join(spaceListener);4Subscribe to participants
Now that our app is running and we're connected to a space, we can subscribe to remote participants. There are events in Space.Listener that deal with this:
onParticipantTrackPublished: This will fire when a remote participant publishes a track.onParticipantTrackSubscribed: This will fire when we have chosen to actively subscribe to a track and our subscription has been accepted. As of now the SDK will automatically subscribe to all tracks that are added.
Update the layout to add views for the remote participants:
<?xml version="1.0" encoding="utf-8"?>
<LinearLayout xmlns:android="http://schemas.android.com/apk/res/android"
    android:background="#FFFFFFFF"
    android:layout_width="match_parent"
    android:layout_height="match_parent"
    android:orientation="vertical">

    <com.mux.sdk.webrtc.spaces.views.TrackRendererSurfaceView
        android:id="@+id/activity_main_local_renderer"
        android:layout_width="320dp"
        android:layout_height="180dp" />

    <ScrollView
        android:layout_width="match_parent"
        android:layout_height="0dp"
        android:layout_weight="1">
        <LinearLayout
            android:orientation="vertical"
            android:id="@+id/activity_main_remote_renderers"
            android:layout_width="match_parent"
            android:layout_height="wrap_content">

        </LinearLayout>
    </ScrollView>
</LinearLayout>
We now need to create TrackRendererSurfaceViews and set their tracks as things appear, so let’s override onParticipantTrackSubscribed in our spaceListener.
@Override
public void onParticipantTrackSubscribed(Space space, Participant participant, Track track) {
    // We can only add video type tracks to views or we'll get an IllegalArgumentException
    if(track.trackType == Track.TrackType.Video) {
        TrackRendererSurfaceView trackRendererSurfaceView = new TrackRendererSurfaceView(MainActivity.this);
        // Evil sizing hard coding to keep things on point
        trackRendererSurfaceView.setLayoutParams(new LinearLayout.LayoutParams(320, 240));

        trackRendererSurfaceView.setTrack(track);
        ((ViewGroup) findViewById(R.id.activity_main_remote_renderers)).addView(trackRendererSurfaceView);
    }
}
At this point, you should be seeing the media of any remote participants who are publishing.
Note about audio: You will receive events when audio track subscriptions start and stop, however, right now all subscribed audio is automatically mixed and played without you needing to do anything.
Remove remote streams as they disconnect
Right now in your app, when remote participants disconnect you will be left with a frozen view. In order to handle that we will add a HashMap class member variable to keep track of the View associated with each Track:
private HashMap<Track, TrackRendererSurfaceView> remoteViews;Create it in onCreate immediately after setting the content view:
remoteViews = new HashMap<>();Now when we add views in onParticipantTrackSubscribed we also put them in the map immediately following trackRendererSurfaceView.setTrack(track):
remoteViews.put(track, trackRendererSurfaceView);And now we can remove the view when the track unsubscribes:
@Override
public void onParticipantTrackUnsubscribed(Space space, Participant participant, Track track) {
    TrackRendererSurfaceView view = remoteViews.get(track);
    if(view != null) {
        ((ViewGroup) findViewById(R.id.activity_main_remote_renderers)).removeView(view);
        remoteViews.remove(view);
    }
}5Publish audio and video
In addition to subscribing to remote participants, we can publish our audio and video to the space.
Before doing this we have to request permission for accessing the camera and recording audio, so we have to follow the patterns described in the Android developer documentation and add them to MainActivity:
public class MainActivity extends AppCompatActivity {
    private Space space;
    private HashMap<Track, TrackRendererSurfaceView> remoteViews;
    private TrackRendererSurfaceView localRenderView;
    private ActivityResultLauncher<String[]> requestPermissionLauncher;

    private static final String[] PERMISSIONS = new String[]{
            Manifest.permission.CAMERA,
            Manifest.permission.RECORD_AUDIO
    };

    private final Space.Listener spaceListener = new Space.Listener() {
        @Override
        public void onJoined(Space space, LocalParticipant localParticipant) {
            Toast.makeText(MainActivity.this, "Joined space " + space.getId() + " as " + localParticipant.getId(), Toast.LENGTH_LONG).show();
        }

        @Override
        public void onError(Space space, MuxError muxError) {
            Toast.makeText(MainActivity.this, "Error! " + muxError.toString(), Toast.LENGTH_LONG).show();
        }

        @Override
        public void onParticipantTrackSubscribed(Space space, Participant participant, Track track) {
            // We can only add video type tracks to views or we'll get an IllegalArgumentException
            if (track.trackType == Track.TrackType.Video) {
                TrackRendererSurfaceView trackRendererSurfaceView = new TrackRendererSurfaceView(MainActivity.this);
                // Evil sizing hard coding to keep things on point
                trackRendererSurfaceView.setLayoutParams(new LinearLayout.LayoutParams(320, 240));
                trackRendererSurfaceView.setTrack(track);
                remoteViews.put(track, trackRendererSurfaceView);
                ((ViewGroup) findViewById(R.id.activity_main_remote_renderers)).addView(trackRendererSurfaceView);
            }
        }

        @Override
        public void onParticipantTrackUnsubscribed(Space space, Participant participant, Track track) {
            TrackRendererSurfaceView view = remoteViews.get(track);
            if (view != null) {
                ((ViewGroup) findViewById(R.id.activity_main_remote_renderers)).removeView(view);
                remoteViews.remove(view);
            }
        }
    };

    @Override
    protected void onCreate(Bundle savedInstanceState) {
        super.onCreate(savedInstanceState);
        setContentView(R.layout.activity_main);
        remoteViews = new HashMap<>();
        requestPermissionLauncher = registerForActivityResult(new ActivityResultContracts.RequestMultiplePermissions(), grants -> {
            if (grants.containsValue(false)) {
                askForPermissions();
            } else {
                joinSpace();
            }
        });

        askForPermissions();

    }

    private void askForPermissions() {
        if (!hasPermissions(PERMISSIONS)) {
            requestPermissionLauncher.launch(PERMISSIONS);
        } else {
            joinSpace();
        }
    }

    private boolean hasPermissions(String[] permissions) {
        for (String s : permissions) {
            if (checkSelfPermission(s) != PackageManager.PERMISSION_GRANTED) {
                return false;
            }
        }
        return true;
    }

    private void joinSpace() {
        final String jwt = "YOUR JWT";
        try {
            SpaceConfiguration spaceConfiguration = SpaceConfiguration.newBuilder()
                    .setJWT(jwt)
                    .build();

            Spaces spaces = Spaces.getInstance(this);
            localRenderView = (TrackRendererSurfaceView) findViewById(R.id.activity_main_local_renderer);
            space = spaces.getSpace(spaceConfiguration);
            space.join(spaceListener);
        } catch (Exception e) {
            e.printStackTrace();
        }
    }
}
The Spaces SDK doesn’t help you request permissions - this is handled by your own application as shown above. If you don’t you will get errors in Space.Listener.onError when the system attempts to access the camera or microphone.
The camera and microphone are accessed as Tracks on the LocalParticipant. (The camera can be switched between different cameras on the device by calling setCamera on the camera track).
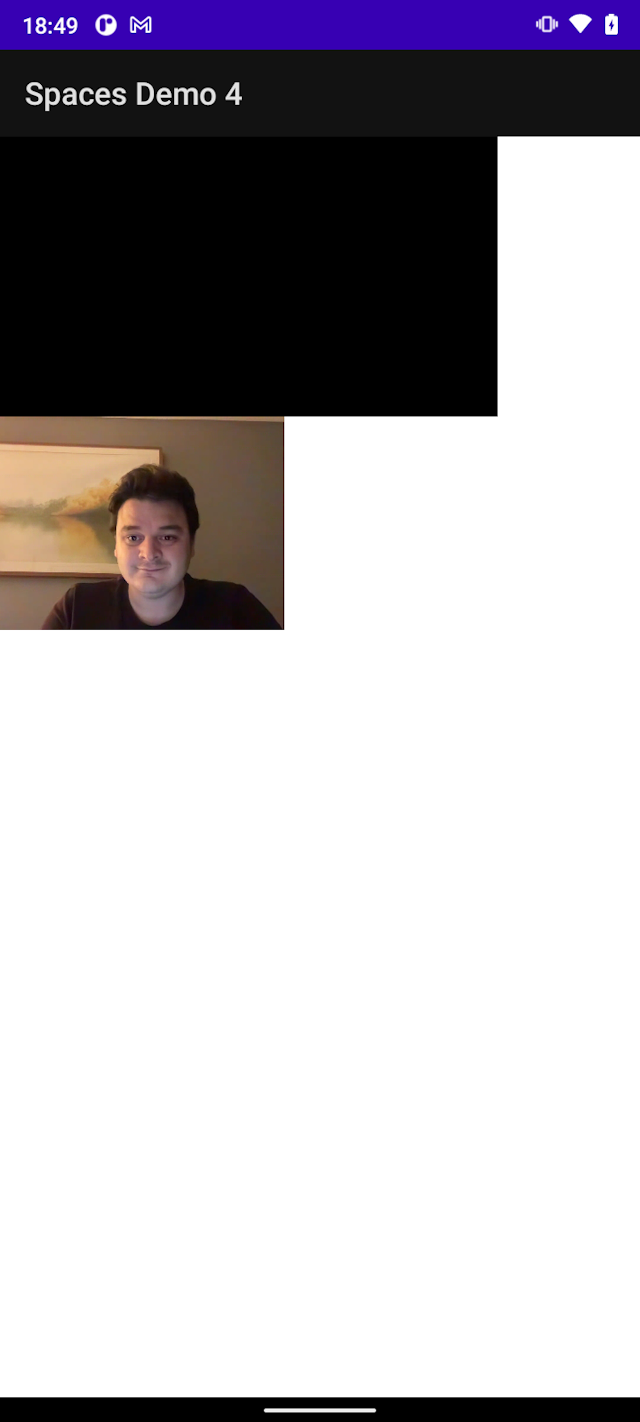
When the user grants permission we can access the camera Track on the LocalParticipant after creating a Space but before joining it, such as to show a preview, so just before calling space.join(spaceListener); in joinSpace add:
localRenderView.setTrack(space.getLocalParticipant().getCameraTrack());Then in onJoined we can actually publish the tracks of the LocalParticipant camera and microphone:
@Override
public void onJoined(Space space, LocalParticipant localParticipant) {
    Toast.makeText(MainActivity.this, "Joined space "+space.getId()+" as "+localParticipant.getId(), Toast.LENGTH_SHORT).show();

    localParticipant.publish(localParticipant.getCameraTrack());
    localParticipant.publish(localParticipant.getMicrophoneTrack());
}
Hopefully if everything is working out, you should now have local and remote video displying correctly.
6Other considerations
Handle screen rotation
If you rotate the screen in this demo you'll notice bad things happen due to the Activity being restarted. We need to add a few bits of code to fix this by keeping the Space active during rotation:
In the beginning of the joinSpace method, add:
if(space != null) {
  return;
}
And then override MainActivity.onDestroy:
@Override
protected void onDestroy() {
    if (space != null) {
        space.leave(spaceListener, isChangingConfigurations());
        space = null;
    }

    super.onDestroy();
}
The isChangingConfigurations() call will pass in a boolean to space.leave. When the configuration is changing due to screen rotation the Spaces SDK will remain active in the background and calling space = spaces.getSpace(spaceConfiguration); will re-attach the Space and replay all the events to re-construct the state of the Space. The onJoin events will re-fire. In this way the Activity can get back to the correct state.
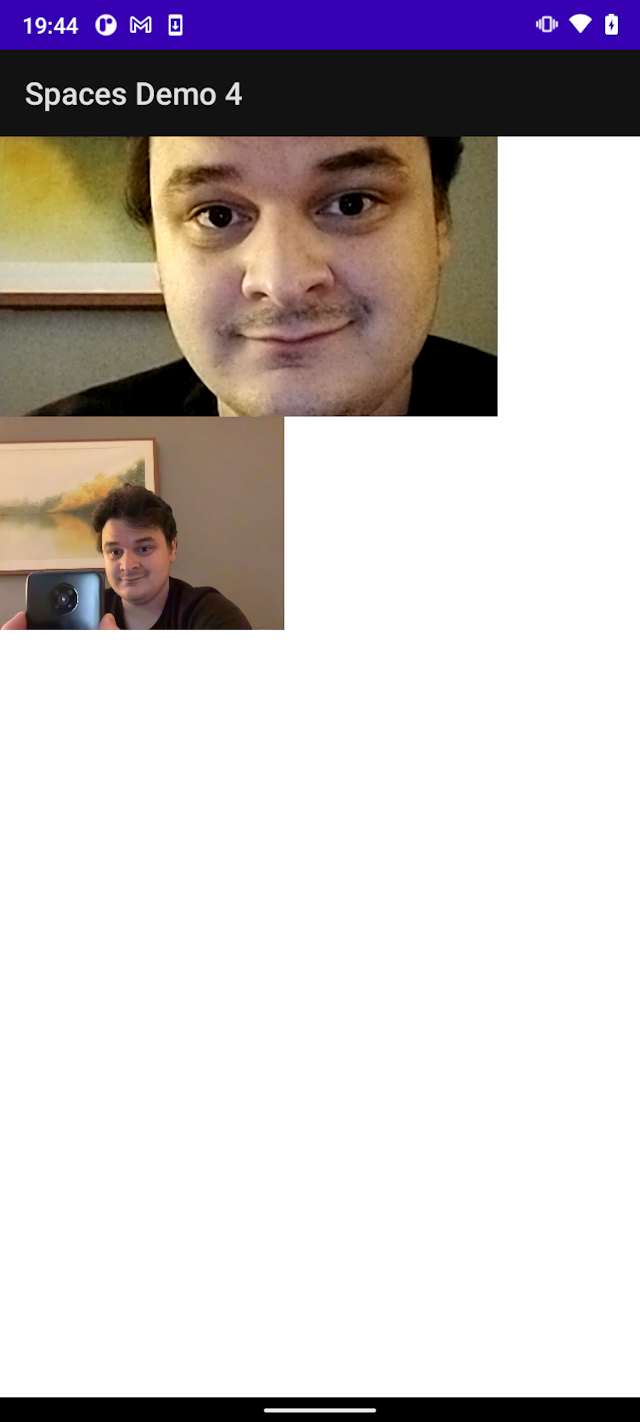
Selecting a different camera
Today the Mux Spaces SDK for Android supports only one camera at once, but you can change which camera is in use whenever the LocalParticipant for a Space is valid.
First you need to pick which camera you want to use, then set that in the SDK, and we’ll do this by inserting code in joinSpace just before this line where we set the track for the view:
localRenderView.setTrack(space.getLocalParticipant().getCameraTrack());Let’s assume we want to use a rear facing camera, if any exists. The Spaces SDK API accepts the name of cameras as returned by the libwebrtc Camera2Enumerator. (If your IDE doesn't automatically you will need to import org.webrtc.Camera2Enumerator).
Camera2Enumerator camera2Enumerator = new Camera2Enumerator(this);
String [] cameraNames = camera2Enumerator.getDeviceNames();
Then we need to iterate over them to find a rear facing camera:
String rearFacingCamera = null;
for(String camera: cameraNames) {
    if (rearFacingCamera == null && camera2Enumerator.isBackFacing(camera)) {
        rearFacingCamera = camera;
    }
}
After that it’s a question of setting the camera by calling:
if(rearFacingCamera != null) {
    space.getLocalParticipant().getCameraTrack().setCamera(rearFacingCamera);
}
You could also display a list of cameras to select and allow the user to pick the camera. If for whatever reason you attempt to select a camera that does not exist you will receive a LocalParticipant.Errors.InvalidCamera error.