The old version is still available here
Make API requests with Postman
In this guide you will learn how to fork, set up, and work with Mux's API collection using Postman's API interface.
In this guide:
Fork the collection
Fork the collection
Create your own copy of Mux's API collection.
Basic authentication
Basic authentication
Setup environment variables in Postman using your Mux credentials in order to authenticate each request.
Sample request body and responses
Sample request body and responses
To reduce friction, we provide sample data and example responses so you always have data to work with.
Stay up to date with the main collection
Stay up to date with the main collection
Similar to GitHub, pull changes to keep your fork in sync with the main collection.
Fork the collection
We recommend Postman as a way to easily explore and interact with our API.
Similar to forking a repository on GitHub, forking a collection on Postman allows you to create a new instance of the collection. Here, you can send requests, collaborate, and submit changes to the original collection. Without forking the collection, the collection will be read-only and you will not be able to make requests unless you're a member of the workspace — even if the collection is public.
If you're already a Postman user, you can fork our officially supported Postman collection and add it to your workspace by clicking the button below.
You can then stay up to date with future changes to our API specification by pulling changes. More on that in the sections below.
Basic authentication
| Term | Description |
|---|---|
| Token ID | access token ID, the "username" in basic auth |
| Token secret | access token secret key, the "password" in basic auth |
Set up credentials
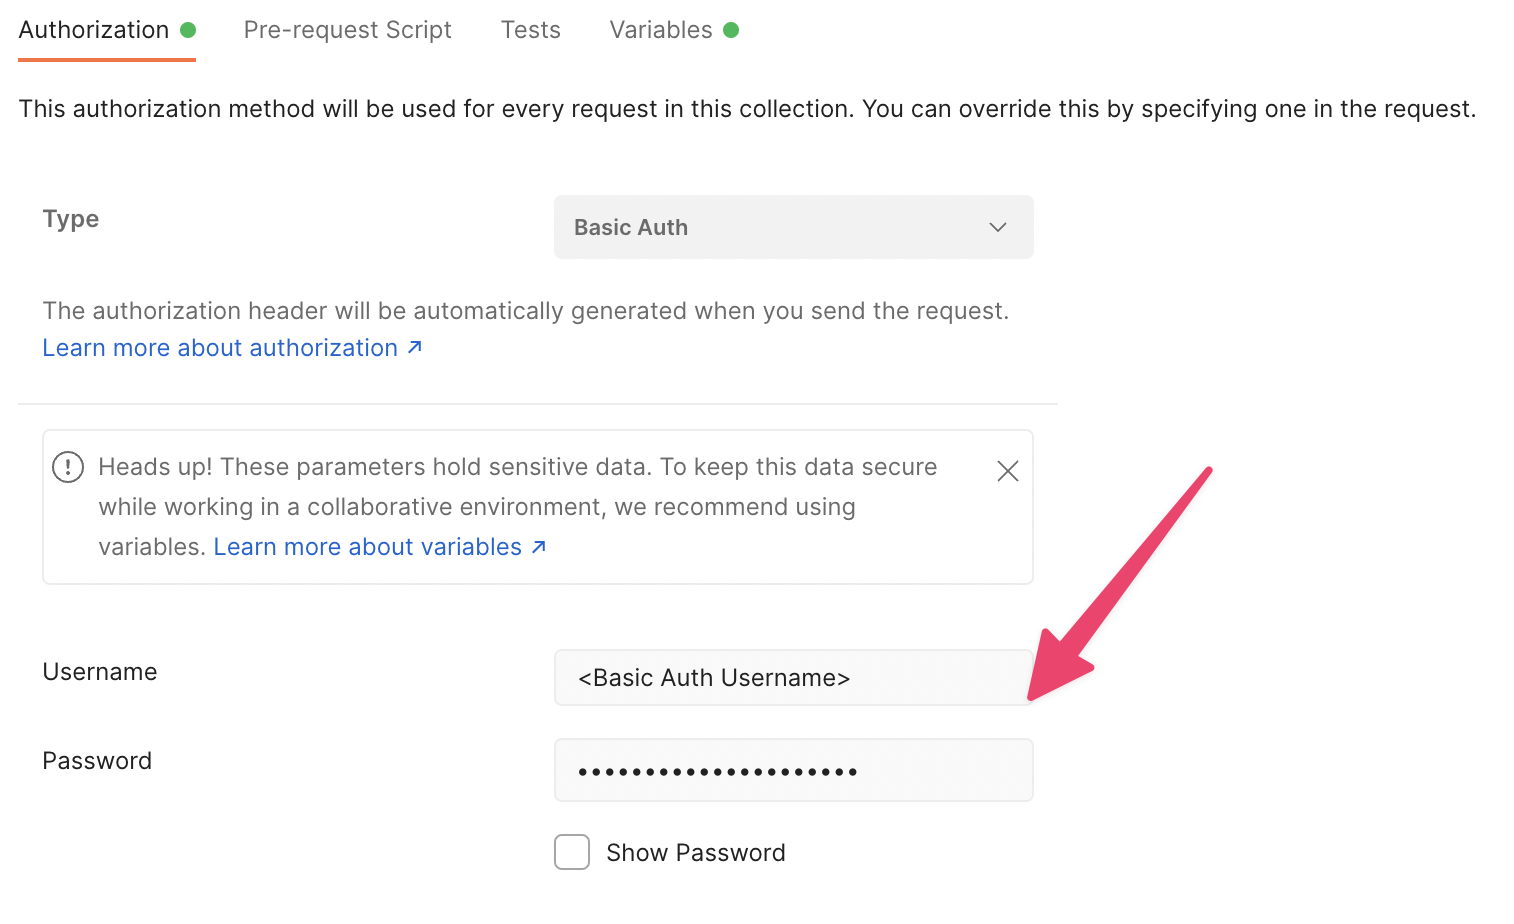
Once you've created your access tokens via your Mux account, you can input them into their respective fields under authorization.
Environment variables
You can use environment variables to store and reuse values — like your credentials — across requests and collections. Variables can either be scoped to the environment or globally, available to all collections within a workspace.
To create environment variables, click the eye icon on the right-hand side of the collection and choose the scope you want your credentials to apply to.
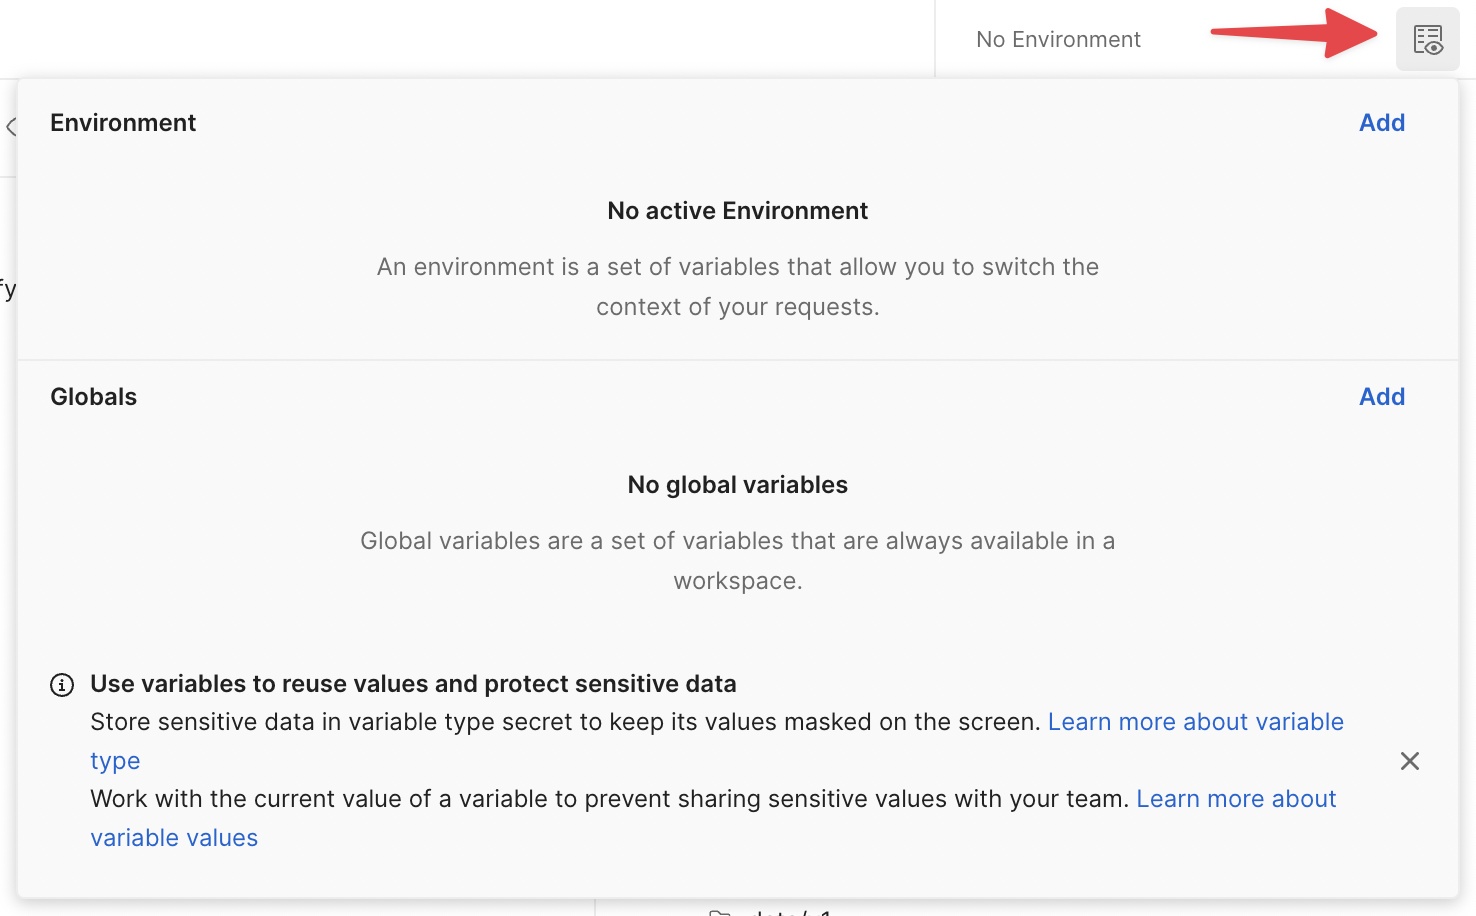
Next, add your credentials and set the type to secret. This will hide values on-screen. Once you've finished setting up your environment variables,
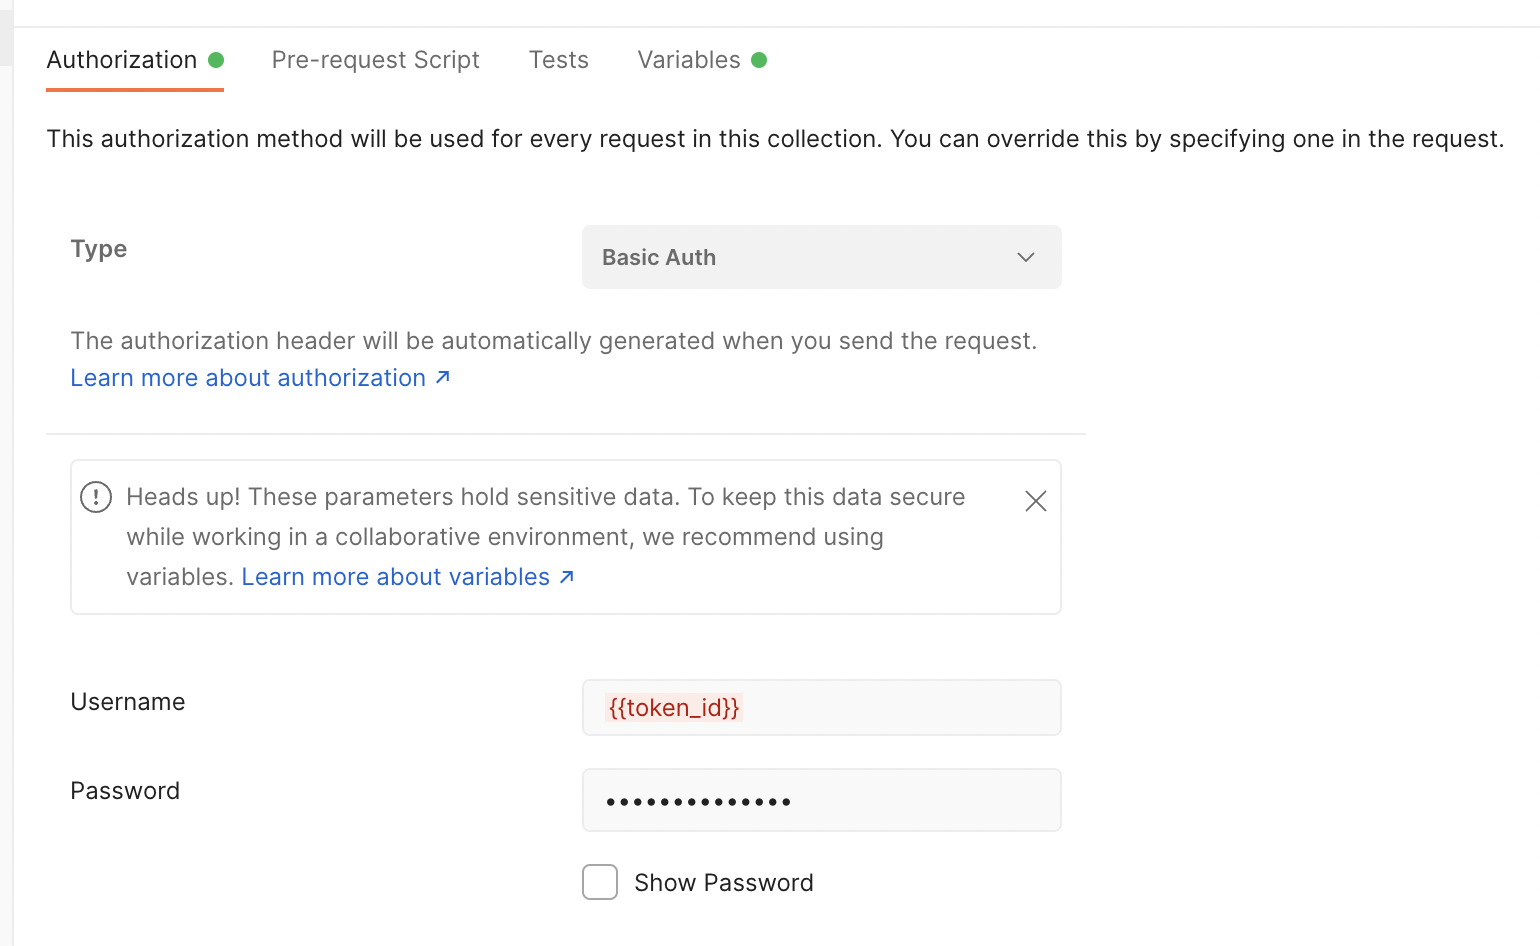
you can go back to basic authentication and use the variables instead of the values directly. To do this, use {{variable_name}} in the form field.
Sample request body and responses
Even with extensive documentation, it can be hard to navigate an API for the first time. To help you make requests and understand their responses, we use Postman's examples feature for all Mux Video and Mux Data endpoints.
You can view an endpoint's sample request body by clicking the endpoint on the left-hand API menu and then clicking body in the main section of the interface.
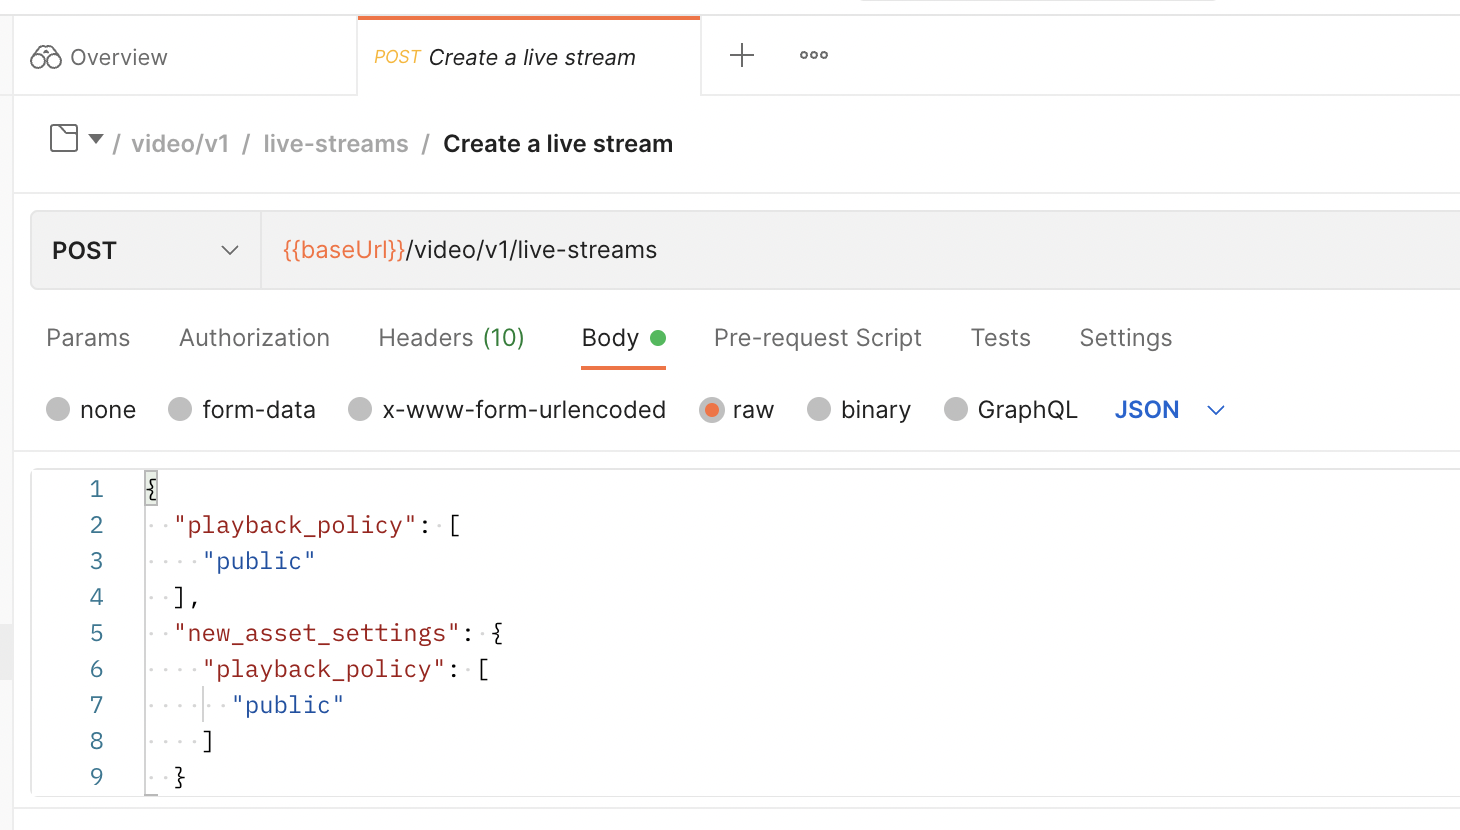
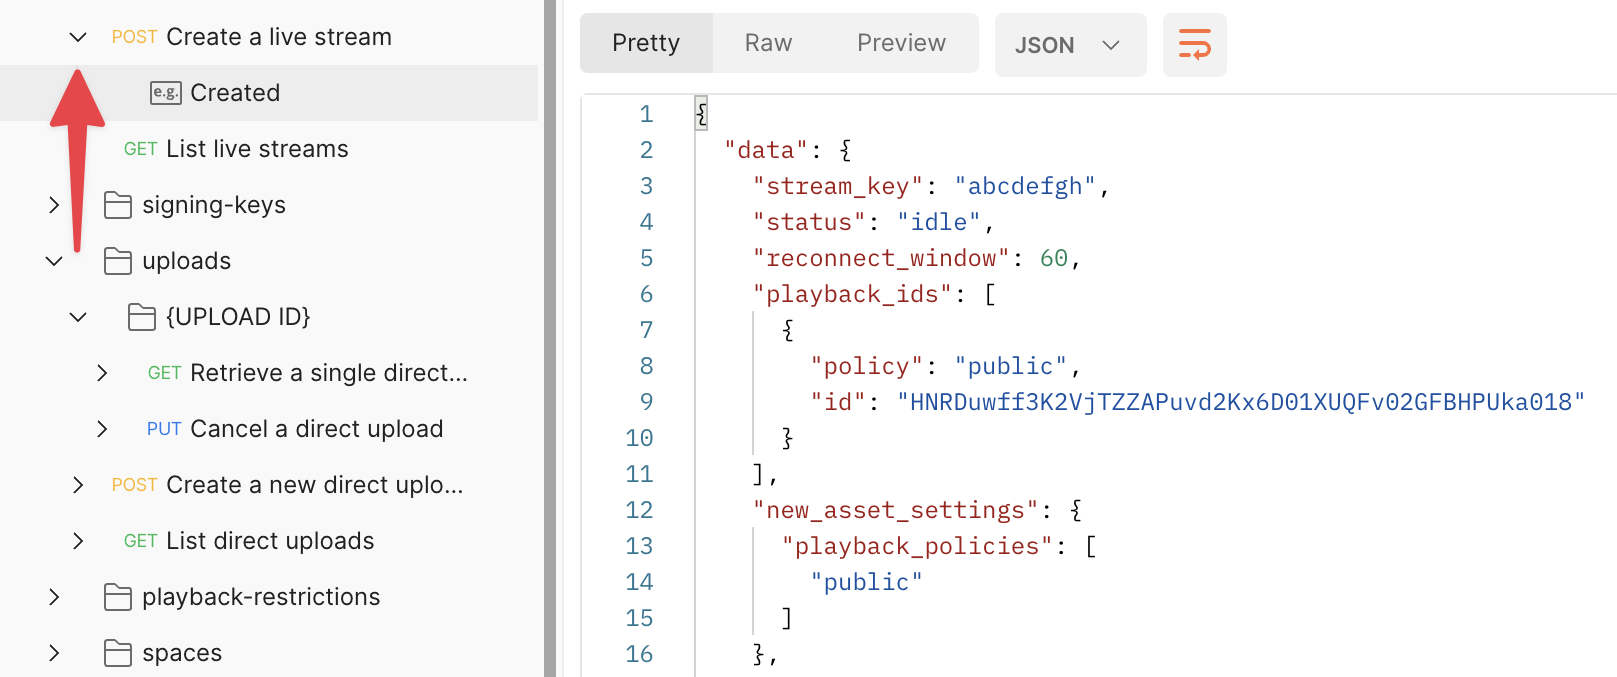
You can view an endpoint's sample request response by clicking the right-facing carat on the endpoint. A new item will appear in the collection with the icon e.g..
Stay up to date with the main collection
Similar to a forked repository on GitHub, your Postman fork will only stay up to date with the origin collection if you periodically pull changes to keep your fork in sync.
You can pull changes by clicking the three dots next to the name of your fork. This will open a sub-menu. Click on merge changes near the bottom of the menu.

If your fork is not in sync with the origin collection, there will be a yellow banner that states, "The destination has been modified since you last updated the fork. We’d recommend pulling changes." Click pull changes on the right.
You will then see a diff where source is the origin and destination is your fork.
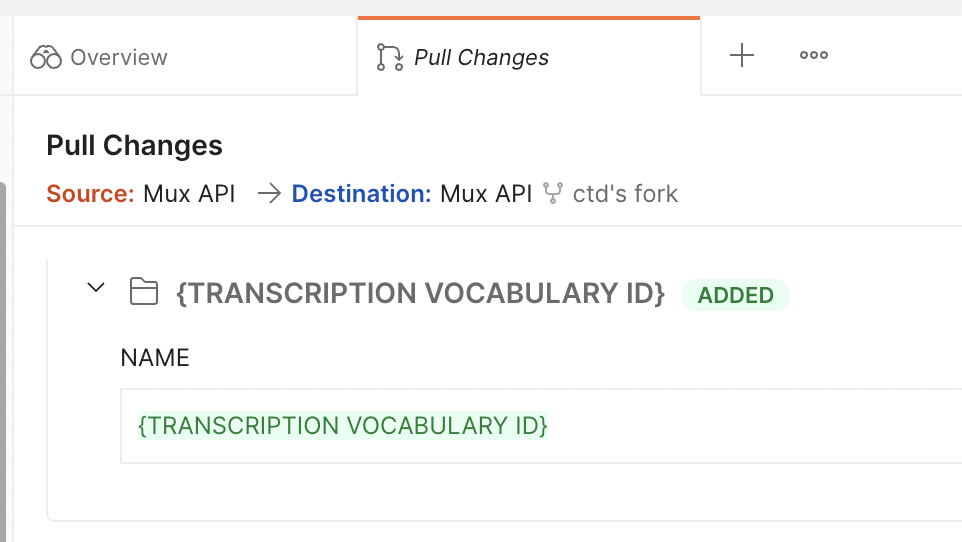
Sometimes there will be merge conflicts. If you encounter them, you can choose whether you keep the source or destination version of a change.
Once everything looks good, click the orange button labeled pull changes.