The old version is still available here
Broadcast real-time video to a live stream
Connect your space to a live stream by adding a broadcast.
In this guide:
1
Create a Broadcast
Create a Broadcast
Creating a broadcast prepares the system to send video from your space to a live stream.
2
Start the broadcast
Start the broadcast
Send the video and audio from your space participants to the live stream.
3
(Optional) Stop the Broadcast
(Optional) Stop the Broadcast
Stop sending spaces video and audio to the live stream.
4
(Optional) Change the broadcast format settings
(Optional) Change the broadcast format settings
Change the layout, resolution, and background image
1Create a Broadcast
Full API ReferenceAPILet’s walk through the steps necessary to broadcast your space. First up, join your space from at least one browser session.
Next, you’ll need to find a live stream to connect to the broadcast. If you don’t have one, you can create one as shown below (you'll need to provide the values for your MUX_TOKEN_ID and MUX_TOKEN_SECRET):
curl https://api.mux.com/video/v1/live-streams \
  -X POST \
  -d '{ "playback_policy": "public", "new_asset_settings": { "playback_policy": "public" } }' \
  -H "Content-Type: application/json" \
  -u ${MUX_TOKEN_ID}:${MUX_TOKEN_SECRET}
Be sure to note down the id for the live stream that is returned, as you’ll need that live stream ID for the rest of this guide. We’ll refer to this as ${LIVE_STREAM_ID} going forward.
Next up, let’s create a broadcast. Simply put, a broadcast acts as a bridge between a space to a live stream. When you create a broadcast on a space, the audio and video from your space are linked to a particular live stream.
Typically, a broadcast will be created on a space to prepare for the live stream. Then, the broadcast can be started to actually start sending the video and audio to the live stream. When you're ready to stop broadcasting to the live stream, simply stop the broadcast, as shown below.
Here's an example of creating a broadcast on a space (specified by ${SPACE_ID}) to a live stream (specified by ${LIVE_STREAM_ID}).
curl https://api.mux.com/video/v1/spaces/${SPACE_ID}/broadcasts \
  -H "Content-Type: application/json" \
  -X POST \
  -d '{"live_stream_id" : "${LIVE_STREAM_ID}"}' \
  -u ${MUX_TOKEN_ID}:${MUX_TOKEN_SECRET}
As you might expect, it's important to capture the id of the broadcast from the response to this call so that you can use it in later actions. In this guide, we'll refer to that ID as ${BROADCAST_ID}
2Start the broadcast
Full API ReferenceAPINow that our broadcast has been created, we can start the broadcast. To do this, we POST to the start endpoint, as shown below.
curl https://api.mux.com/video/v1/spaces/${SPACE_ID}/broadcasts/${BROADCAST_ID}/start \
-H "Content-Type: application/json" \
-X POST \
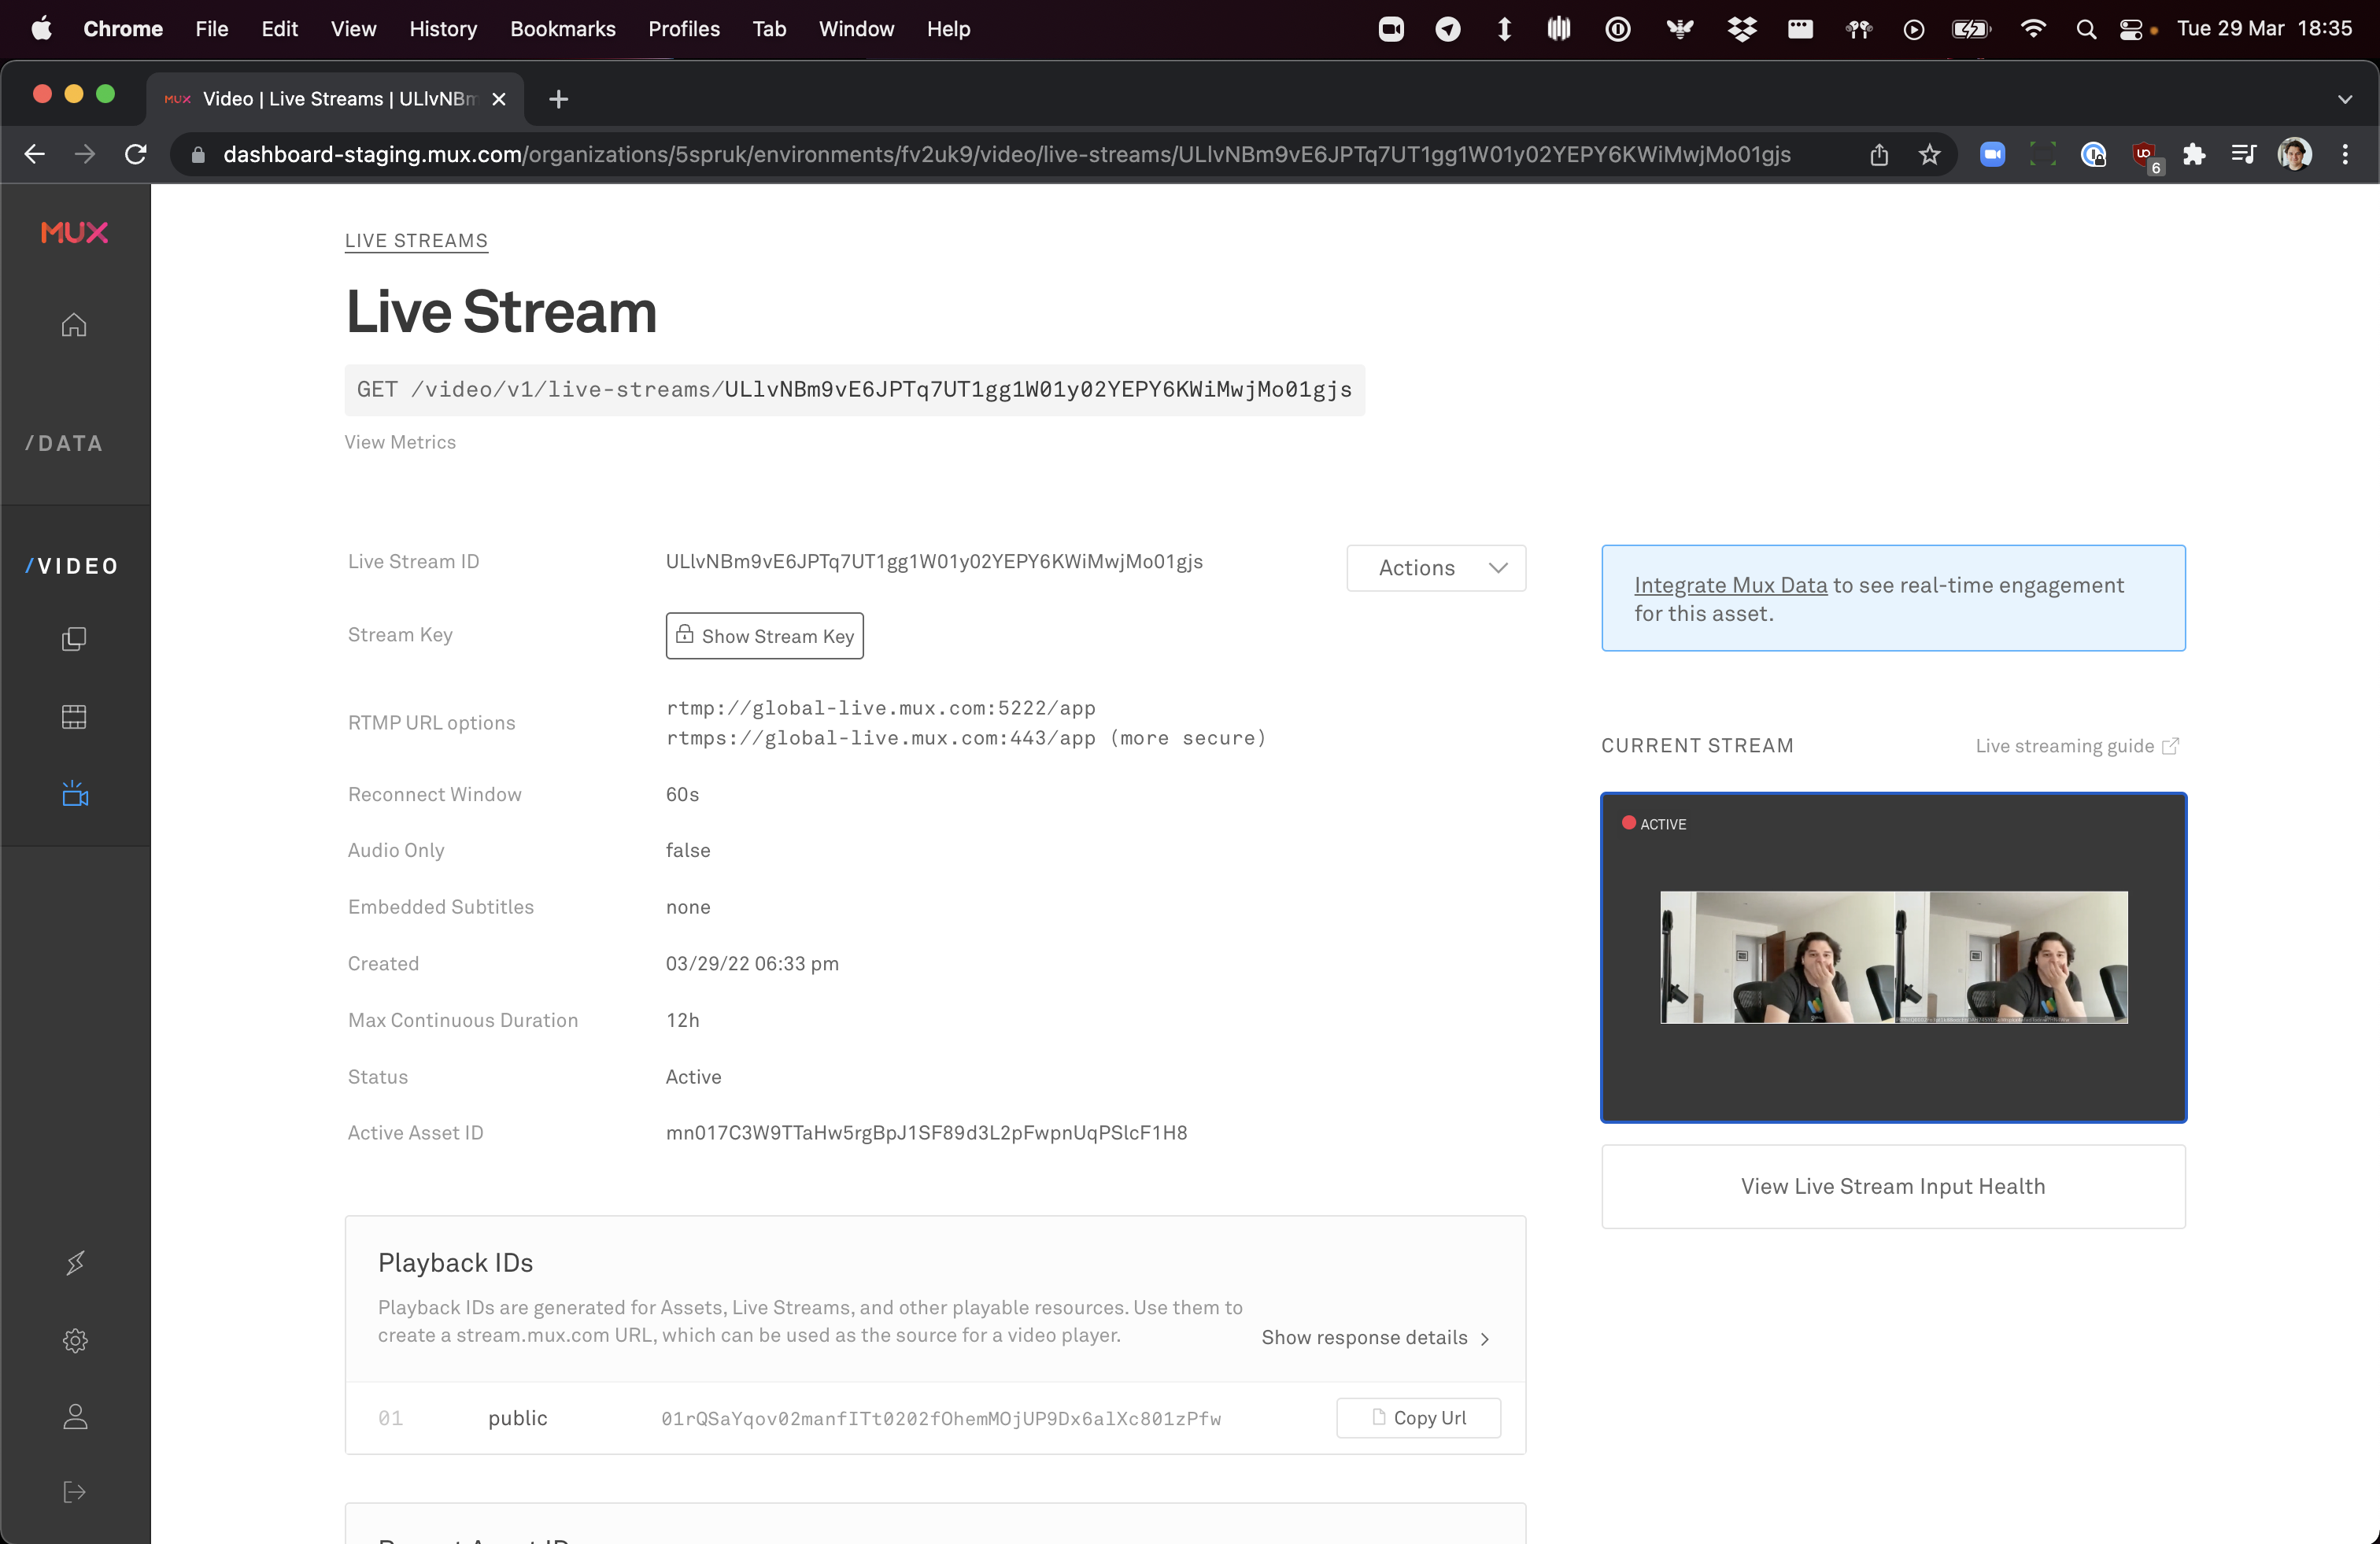
-u ${MUX_TOKEN_ID}:${MUX_TOKEN_SECRET}To ensure that the broadcast is working correctly, you can go to the Mux Dashboard, find the live stream, and check that the broadcast of your space is being sent to the live stream. It should look something like this:
3(Optional) Stop the Broadcast
Full API ReferenceAPIFinally, in order to stop broadcasting your space to the live stream, we'll call the stop endpoint.
curl https://api.mux.com/video/v1/spaces/${SPACE_ID}/broadcasts/${BROADCAST_ID}/stop \
  -H "Content-Type: application/json" \
  -X POST \
  -u ${MUX_TOKEN_ID}:${MUX_TOKEN_SECRET}
Please note that a broadcast will also automatically stop if all of the participants leave a space, or the space itself is removed. A broadcast will also be automatically stopped if the live stream is deleted or exceeds its time limit.
4(Optional) Change the broadcast format settings
Full API ReferenceAPILayout
You can choose a gallery (default) or active-speaker layout for your broadcast by including the "layout": "gallery" parameter when creating a spaces broadcast.
The gallery layout will show participants in a grid that automatically resizes each participant’s stream to best fit up to 10 participants in the window. The active-speaker layout will show only the current active speaker, without a border.
Both layouts will display a screen share when applicable.
Resolution
You can customize your broadcast to be in landscape, portrait or square aspect ratio depending on your intended audience with the resolution parameter.
The default resolution (1920x1080) is designed for desktop web applications in landscape mode. Portrait resolution options (1080x1920 and 720x1280) are designed for broadcasts to vertical mobile devices, while square resolution options (1080x1080 and 720x720) are best for broadcasts to social networks.
Background
Specify a custom background image by providing the URL in the background parameter. Note that background images will not be visible with the active-speaker layout, since there is no border around the video.
Examples
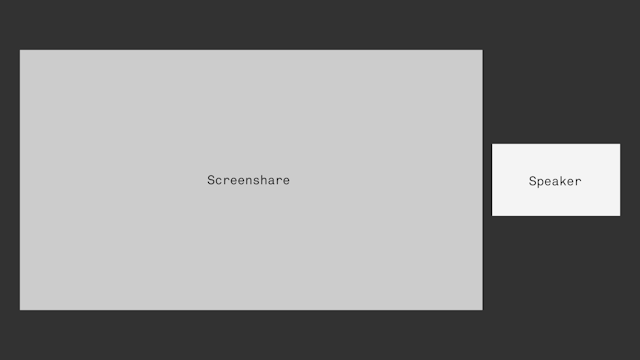
Landscape Gallery (default)
Video streams will all be formatted to 16:9 with a border. When screen share is active, the participants will be shown to the right of the screen share.

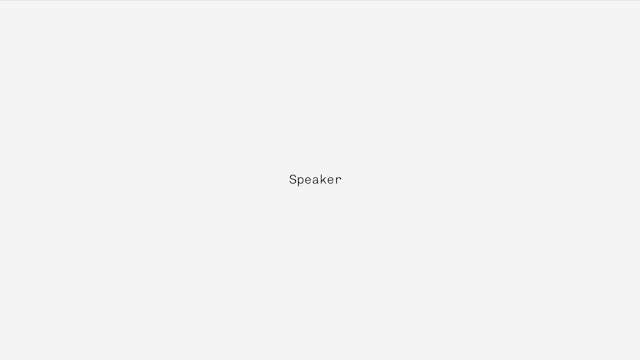
Landscape Active Speaker
The active speaker layout is border-less unless there is a screen share.
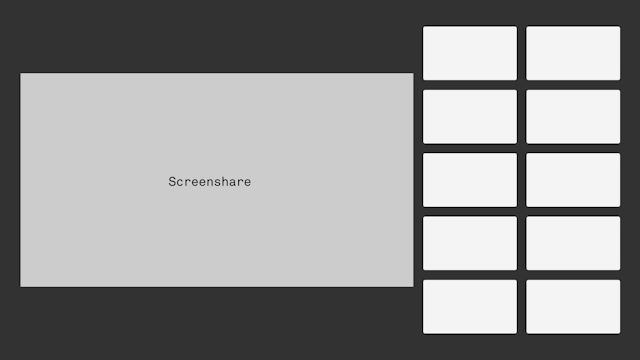
Portrait Gallery
The gallery layout with a portrait resolution will show up to 8 participants in a grid. Video streams will be cropped to 1:1 to accommodate broadcasts with more than 4 participants.
Square Gallery
The gallery layout with a square resolution shows up to 9 participants in a grid. All video streams will be cropped to 1:1.